 SyncSquirrel
Set up SyncSquirrel
Five steps, about 5 minutes. Nothing changes in Zoho CRM or Mailchimp until you click Save settings in step 4.
- A Zoho CRM Administrator login in the US data center. Only a Zoho Administrator can change SyncSquirrel's settings.
- A Mailchimp login that's an Owner, Admin, or Manager.
Sign in with Zoho CRM
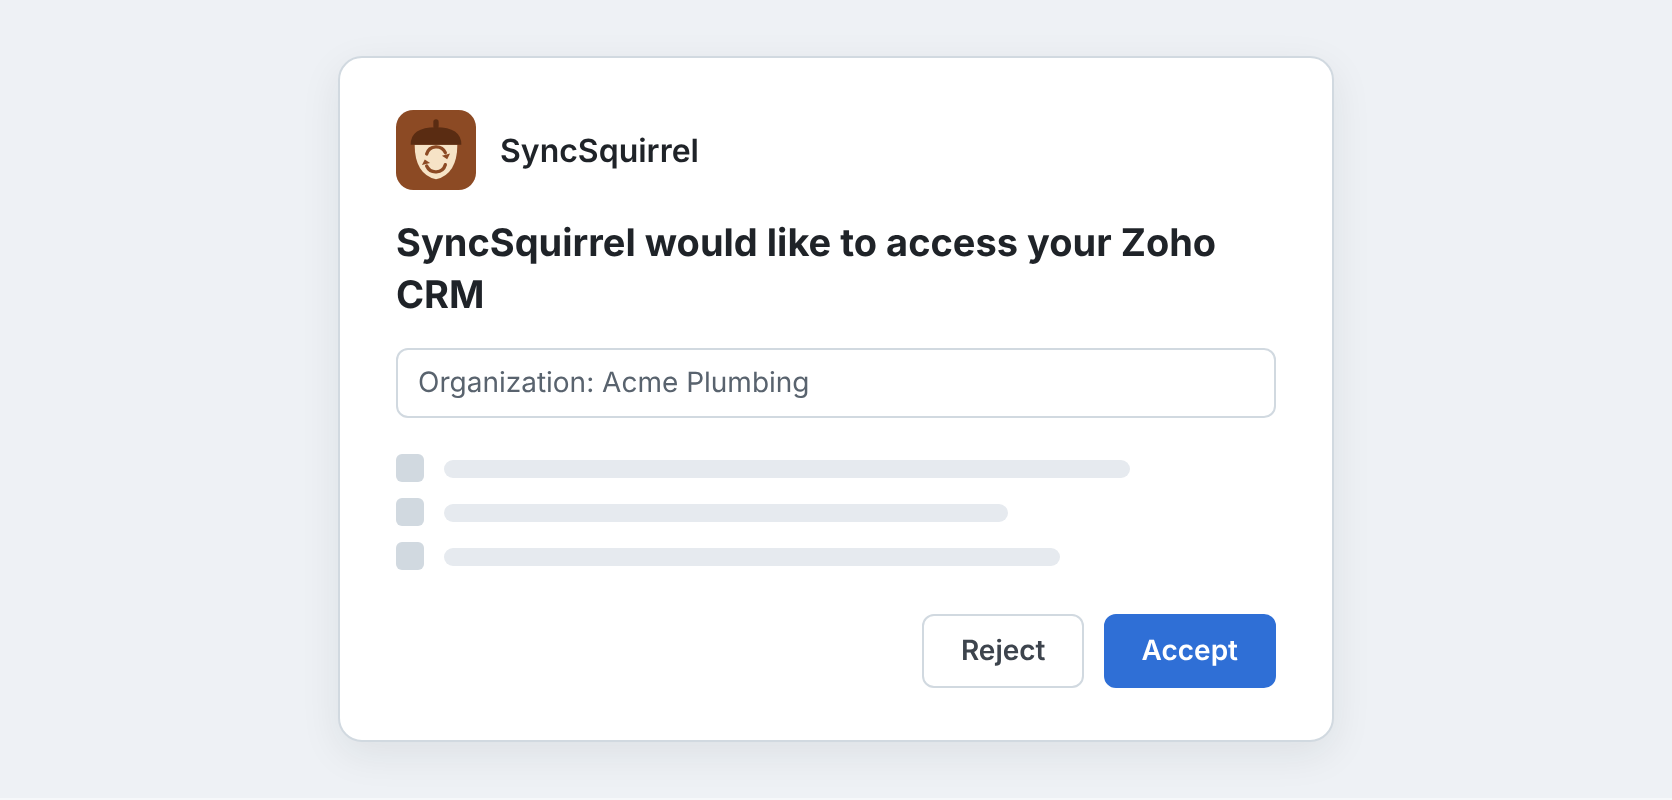
On the home page, click Sign in with Zoho CRM. Zoho asks you to pick your organization and allow access. Click Accept.
Connect Mailchimp
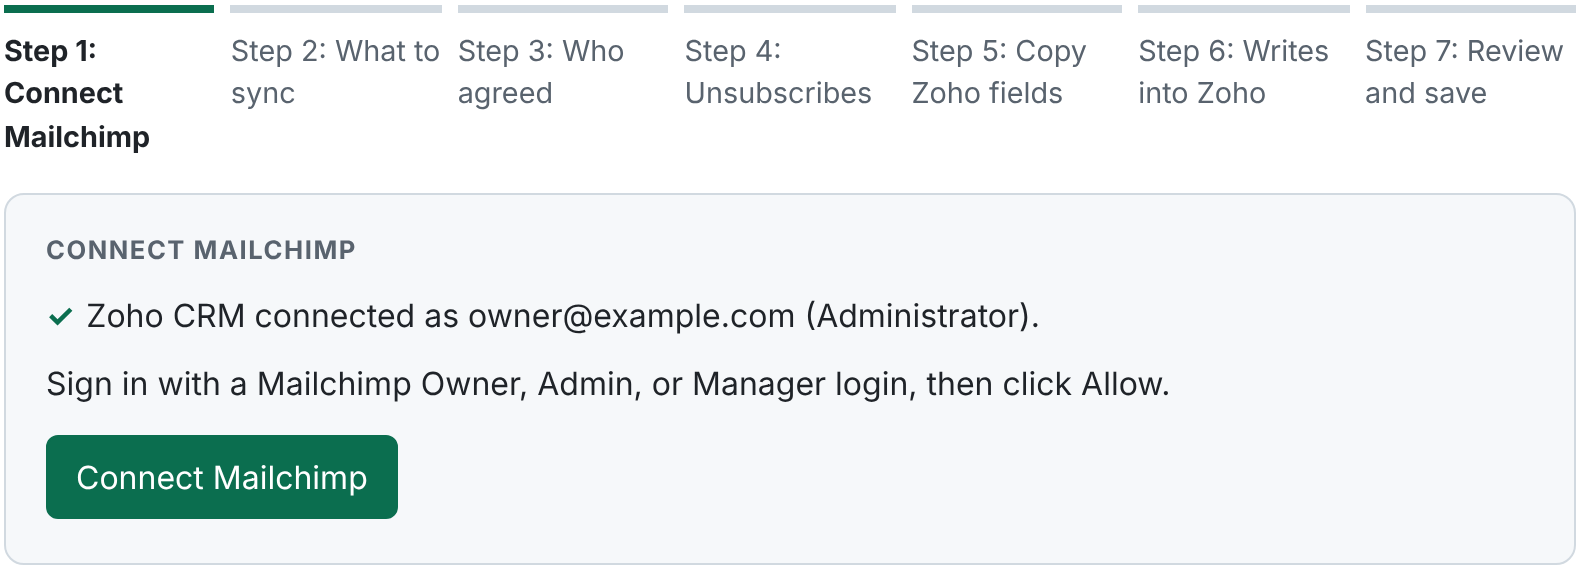
On Settings, click Connect Mailchimp, sign in, and click Allow.
Pick your audience and which Zoho records to keep in step
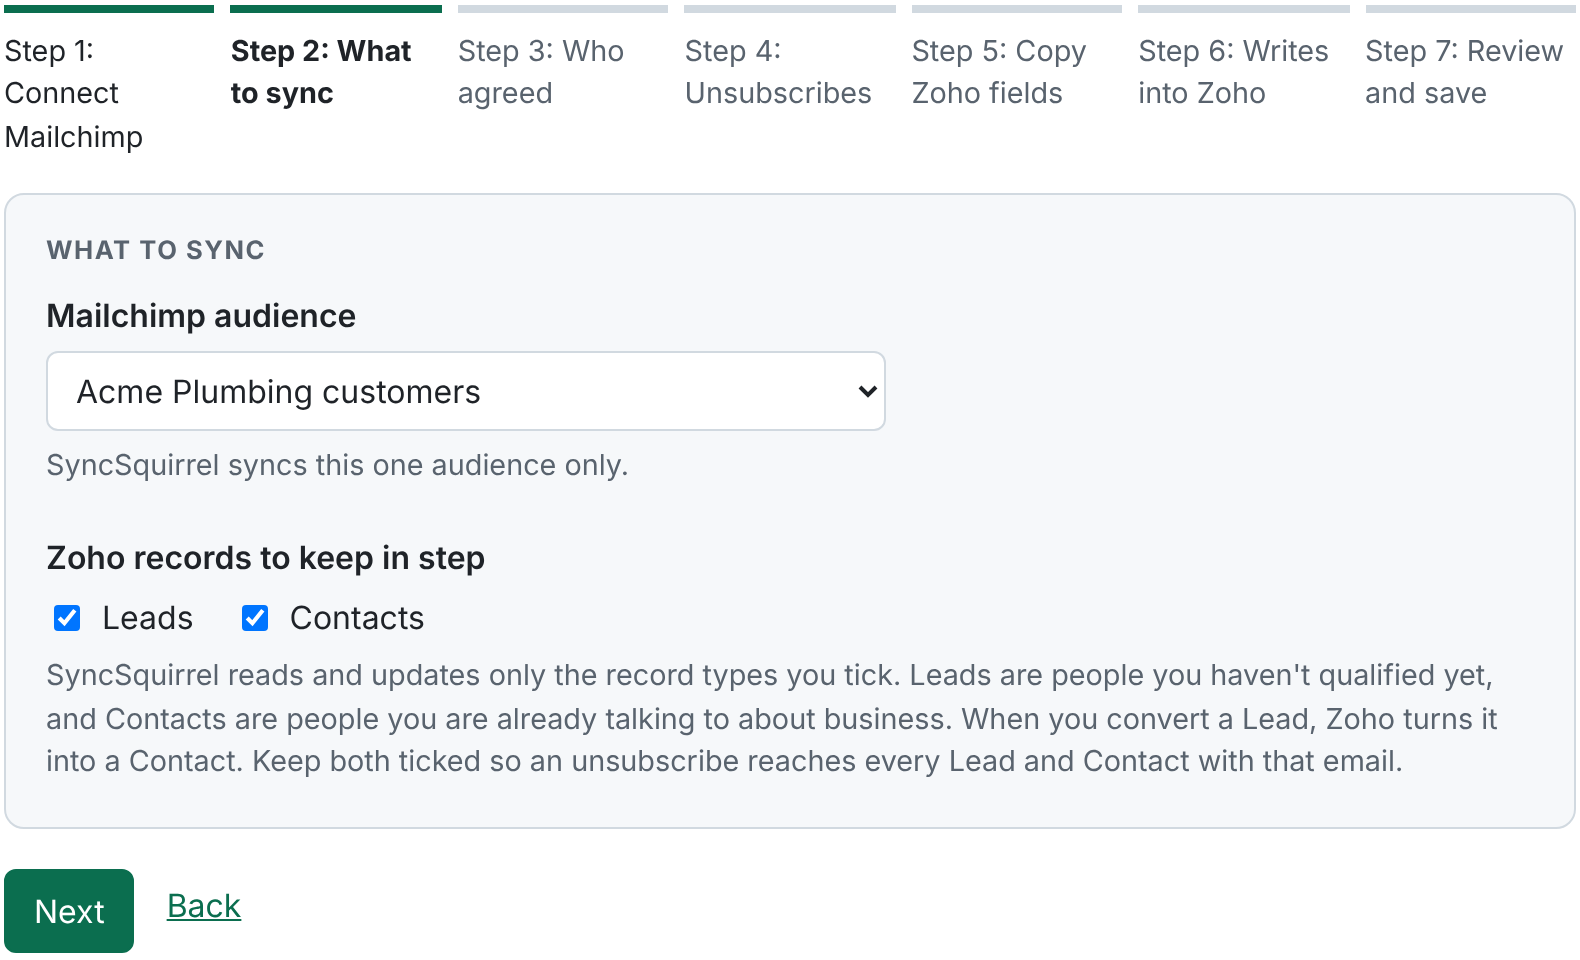
Under What to sync, pick the Mailchimp audience to keep in step with Zoho, tick Leads, Contacts, or both, and click Next. You'll save in step 4.
Pick your consent rules
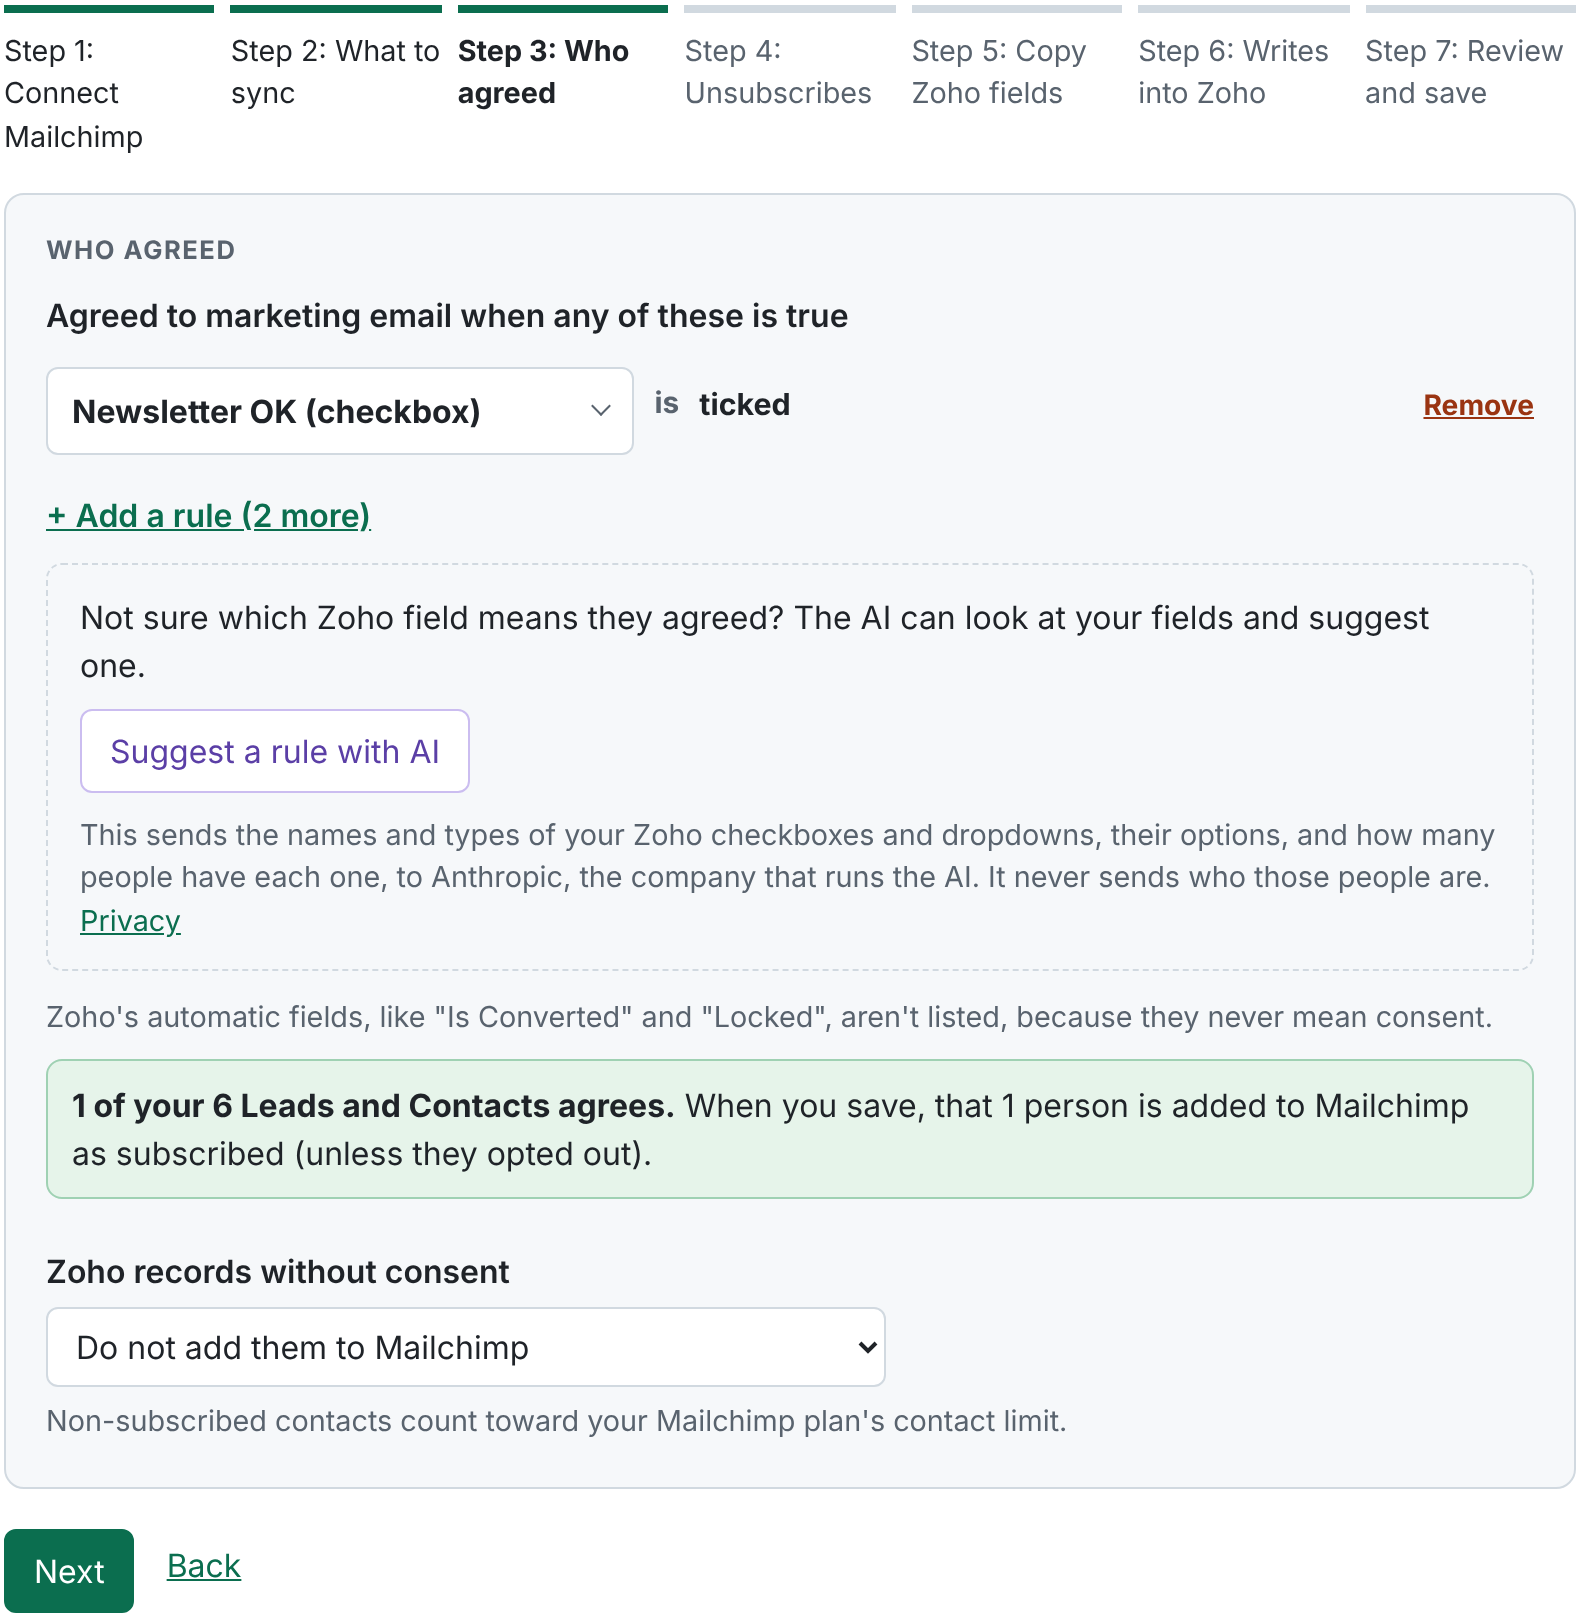
Under Who agreed, click + Add a rule and pick the Zoho field that means someone agreed to marketing email: a checkbox, a dropdown, or Zoho's GDPR consent. Settings shows how many people the rules would add to Mailchimp before you save. Click Next. If your team also records a "no" in its own field, add it under Unsubscribe in Mailchimp when any of these is true; Email Opt Out is always there. Click Next. Copy Zoho fields and Writes into Zoho are optional: click Next to skip each. Then check the summary under Review and save, and click Save settings.
Let the first check run
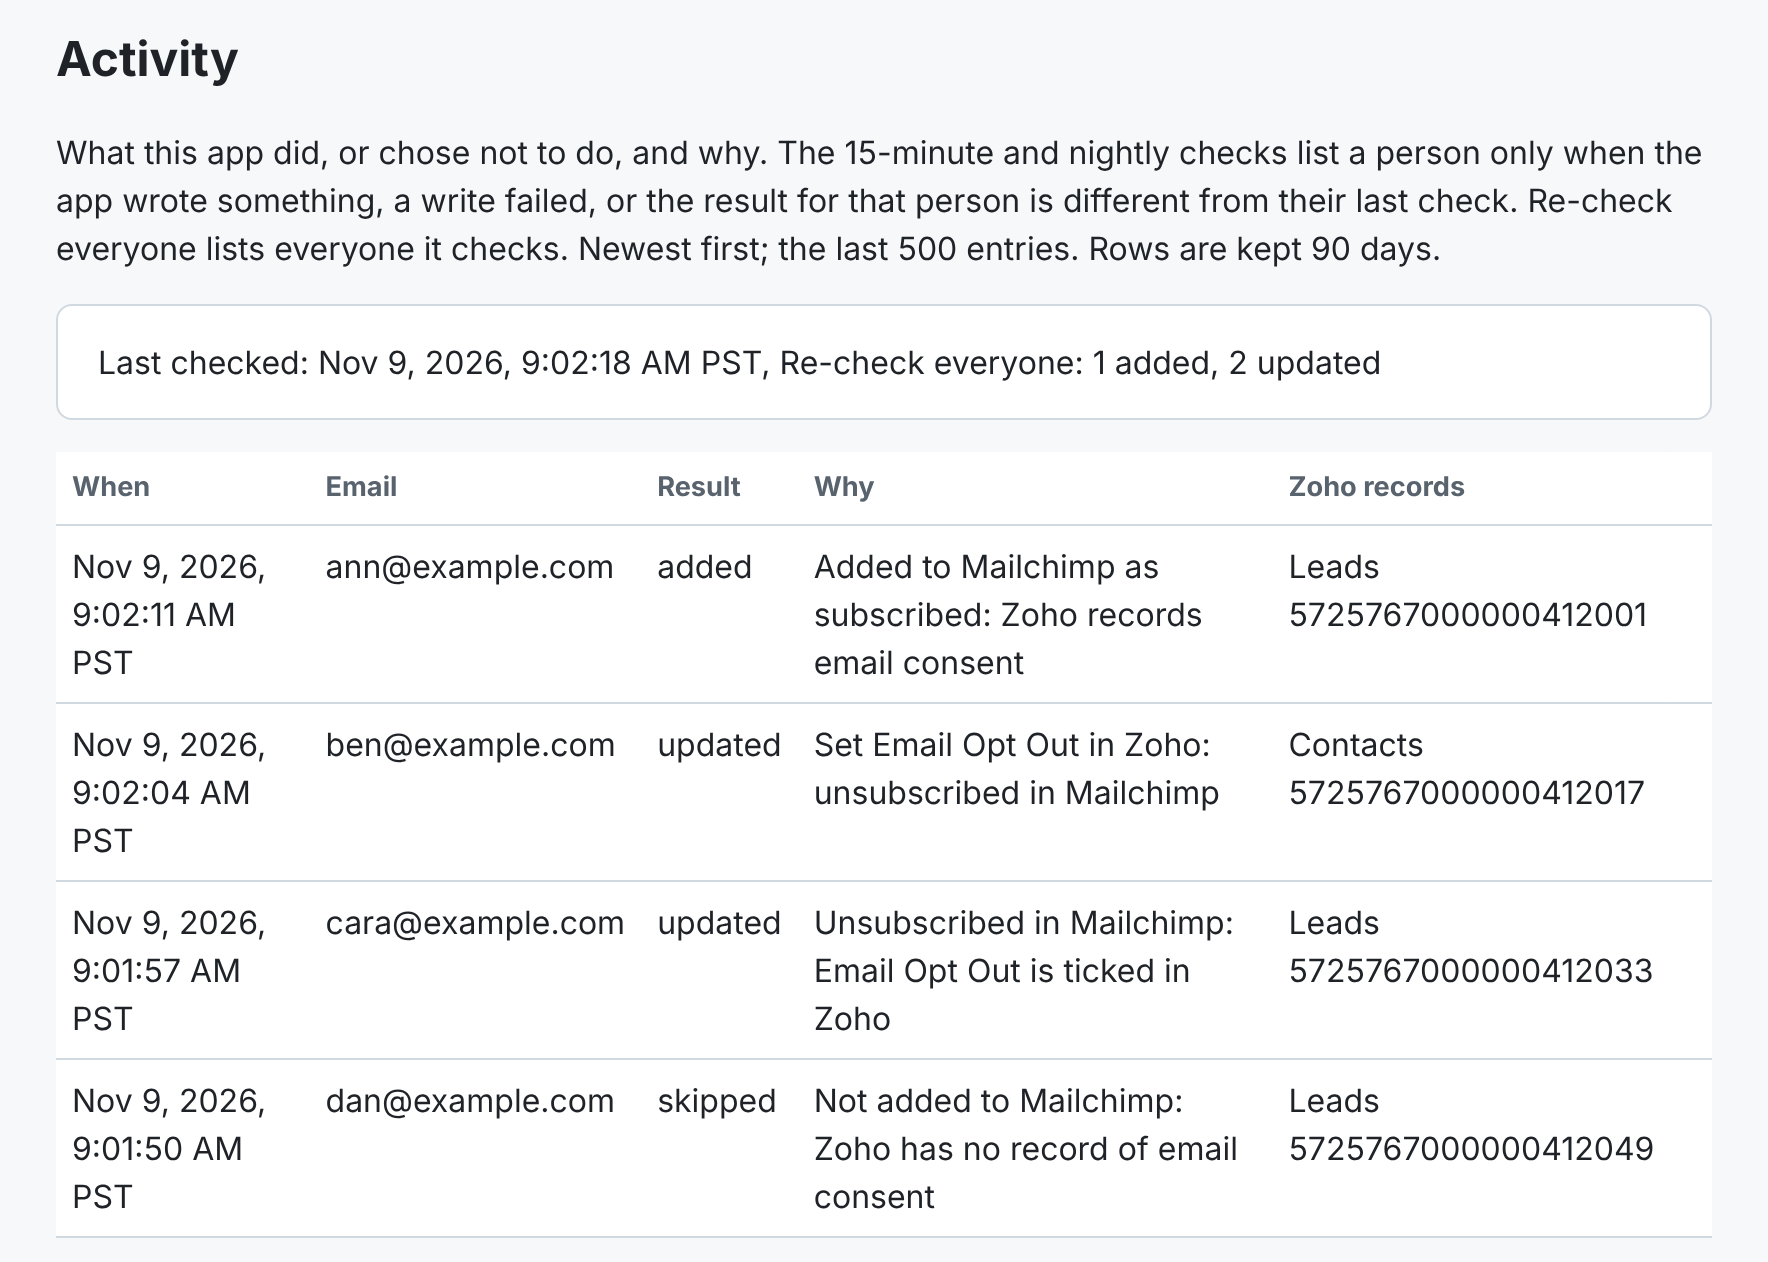
SyncSquirrel checks everyone within 15 minutes, or right away if you click Re-check everyone on Settings. If 20 or more people are already unsubscribed in Mailchimp but not in Zoho, it waits for your OK first. Every change shows on the Activity page with the reason.
Questions? See How it works and Support, or email support@syncsquirrel.com.